Growing your own cannabis is a rewarding journey, but it all starts with the right knowledge and
premium genetics. Whether you are growing indoors in a tent or outdoors in the soil, this guide
will walk you through the entire lifecycle of the cannabis plant.
Chapter 1: Seed Selection – Choosing the Right
Genetics
Before you plant anything, you need to know what you are growing. The genetics dictate the
plant’s size, yield, flavor, and how it responds to its environment.
● Photoperiod vs. Autoflower: * Photoperiods rely on the light cycle to transition from
growing to flowering. Outdoors, they begin to flower as the days get shorter in late
summer. Indoors, you control the flip by changing your lights to a 12-hours-on,
12-hours-off schedule. They allow for larger yields and give you time to recover from
mistakes.
○ Autoflowers flower automatically based on age, usually within 3-4 weeks from
sprouting, regardless of the light cycle. They are faster and stay smaller, making
them excellent for quick indoor runs or shorter outdoor growing seasons.
● Feminized vs. Regular Seeds:
○ Feminized Seeds are bred to produce only female plants. Since female plants
produce the buds you harvest, these are highly recommended for home growers
who want to maximize their space and yield.
○ Regular Seeds have a 50/50 chance of being male or female. These are typically
used by breeders or growers looking for a specific phenotype to keep as a “mother”
plant.
● Indica, Sativa, and Hybrids:
○ Indicas typically grow short, bushy, and finish flowering quickly.
○ Sativas grow tall, have thinner leaves, and usually take longer to finish flowering.
○ Hybrids offer a mix of both, providing balanced growth structures and effects.
Chapter 2: Germination – Popping the Seed
Germination is the process of waking up the seed and encouraging the taproot to emerge.
The Paper Towel Method (Recommended):
- Moisten two paper towels with pH-balanced water (around 6.0 – 6.5). They should be
damp, not dripping wet. - Place your seeds between the layers of the damp paper towels.
- Put the paper towels inside a plastic zip-top bag or between two plates to trap the
humidity. - Store them in a warm, dark place (70-80°F or 21-26°C).
- Check daily. Within 1 to 5 days, a white taproot will appear. Once the taproot is about half
an inch long, the seed is ready to plant.
Planting: Make a small hole in your starting medium (soil or coco) about a half-inch deep. Place
the seed with the white taproot pointing down. Cover lightly with soil and mist with water.
Chapter 3: The Seedling Stage (Weeks 1-3)
This is the most fragile stage of a cannabis plant’s life. The plant is focusing its energy on
establishing a root system.
● Lighting: Seedlings do not need intense light. Keep LED grow lights dimmed or raised
high (usually 24-30 inches above the plant). Too much light will burn them; too little will
cause them to stretch tall and become weak.
● Environment: Seedlings love high humidity (65-70%) and warm temperatures (70-78°F).
Using a plastic humidity dome over the pot for the first week can help them thrive.
● Watering: The number one mistake beginners make is overwatering. A seedling’s roots
need oxygen just as much as they need water. Water lightly in a circle around the base of
the plant to encourage the roots to stretch outward in search of moisture. Do not add
nutrients yet; the seed and starter soil have enough food for the first week or two.
Chapter 4: The Vegetative Stage (Weeks 3-8+)
Once your plant has several sets of fan leaves and a sturdy stem, it has entered the vegetative
(veg) stage. This phase is all about structural growth.
● Light Cycle: Indoors, keep your lights on a schedule of 18 hours on and 6 hours off
(18/6).
● Nutrients: The plant now needs food to fuel its rapid leaf and stem growth. Cannabis in
the vegetative stage requires higher amounts of Nitrogen. Start feeding your chosen
nutrients at a quarter or half of the manufacturer’s recommended dose to avoid nutrient
burn.
● Watering: As the plant grows, it will drink more. Water thoroughly until a small amount
runs out the bottom of the pot, then wait until the top inch or two of soil is completely dry
before watering again.
● Plant Training: To maximize yields, you want a flat, wide canopy rather than one tall
“Christmas tree” shape.
○ Topping: Cutting off the very top of the main stem to force the plant to grow two
main colas instead of one.
○ Low Stress Training (LST): Gently bending and tying down the branches so that
lower growth sites receive direct light.
Chapter 5: The Flowering Stage (Weeks 8-16)
This is when your plant stops focusing on growing taller and shifts its energy to producing
heavy, sticky buds.
● The Flip: For photoperiods, change your indoor light timer to 12 hours on, 12 hours off.
This uninterrupted 12 hours of darkness signals to the plant that autumn is approaching
and it is time to flower. Autoflowers will do this on their own.
● The Stretch: During the first 2-3 weeks of flowering, the plant will experience explosive
vertical growth, often doubling in size.
● Nutrient Shift: Transition from high-Nitrogen nutrients to bloom nutrients, which are
higher in Phosphorus and Potassium to support flower development.
● Environment: Drop the humidity to 40-50% to prevent mold and bud rot from forming
inside the dense flowers.
Chapter 6: Harvest, Drying, and Curing
Patience is the key here. Harvesting too early or rushing the dry will ruin the flavor and potency
of the genetics you worked so hard to grow.
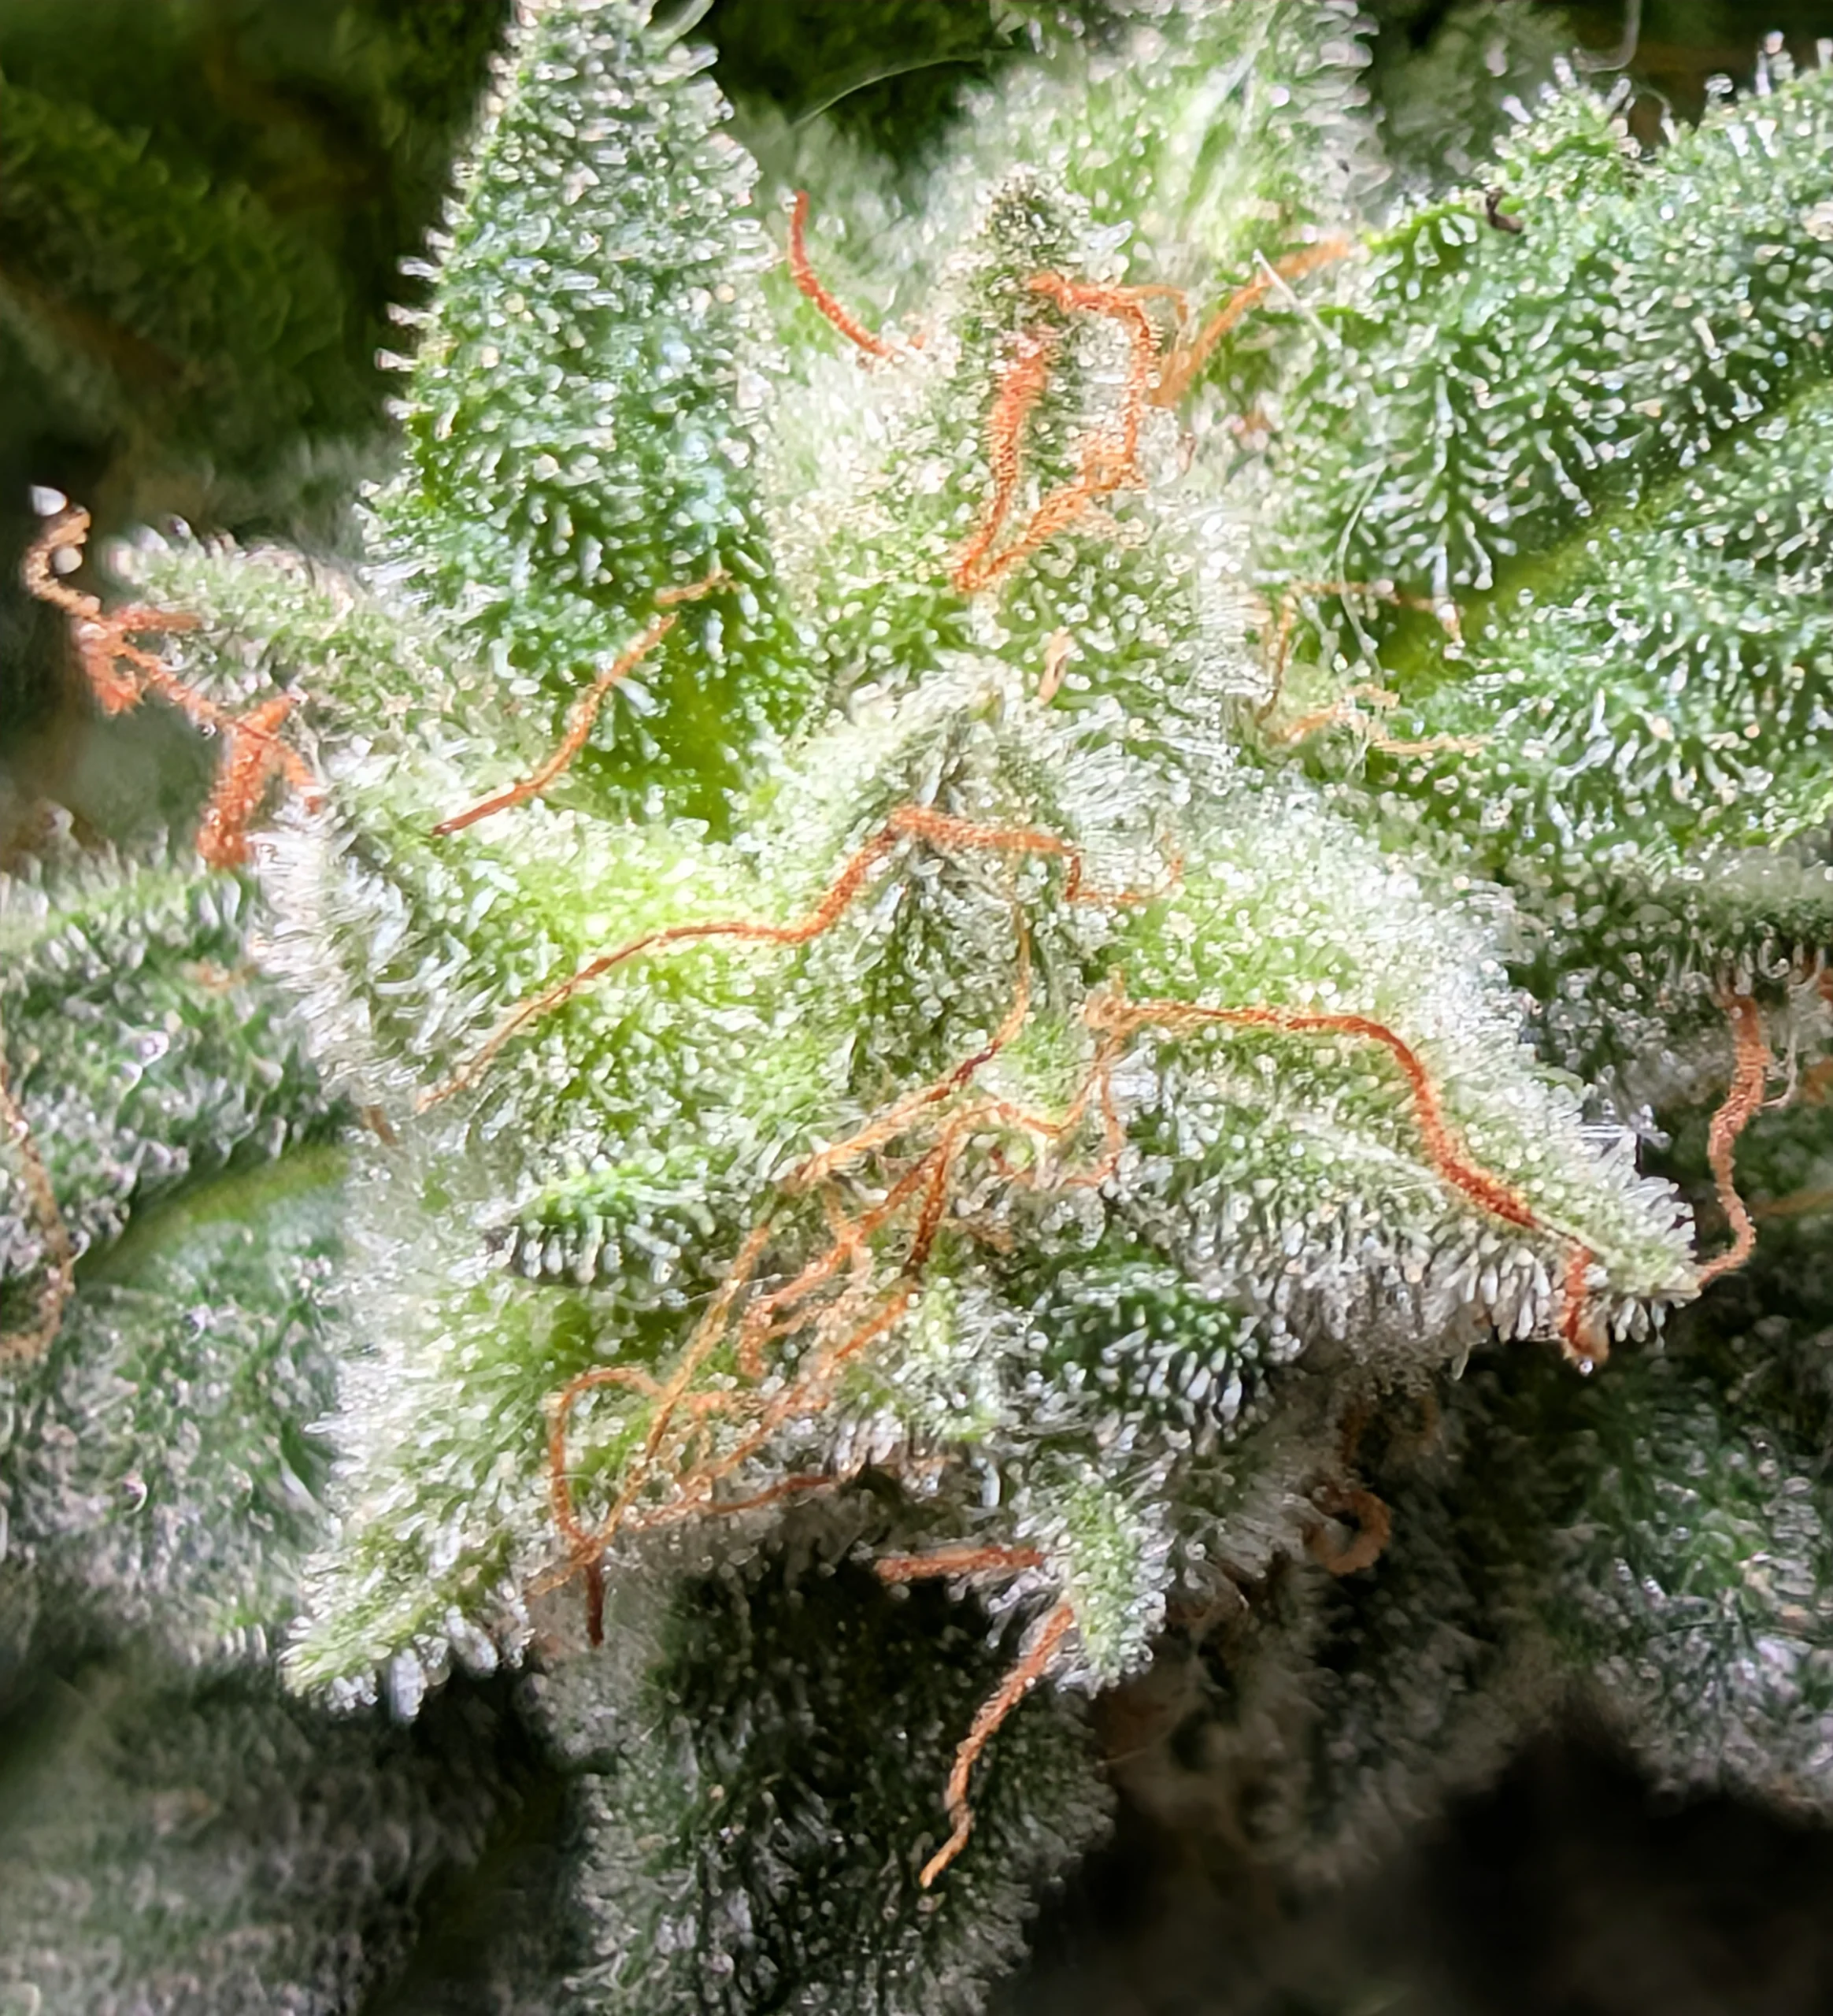
● When to Harvest: Don’t guess based on the calendar; look at the plant. Use a jeweler’s
loupe to inspect the trichomes (the frosty “crystals” on the buds).
○ Clear trichomes: Too early.
○ Milky/Cloudy trichomes: Peak THC potency (the ideal time to harvest for most).
○ Amber trichomes: THC is degrading into CBN, which provides a heavier, more
relaxing body effect.
● Drying: Cut the plant down and hang the branches upside down in a dark room. The
perfect drying environment is 60°F and 60% humidity. A slow dry (10-14 days) preserves
the terpenes (flavor and aroma). The buds are ready to be trimmed when the smaller
stems snap rather than bend.
● Curing: Trim the leaves off the buds and place the manicured flowers into airtight glass
mason jars. Store them in a cool, dark place. For the first two weeks, open the jars for
10-15 minutes a day (a process called “burping”) to release built-up moisture and
replenish the oxygen. A proper cure takes 2 to 4 weeks and results in a smooth, flavorful
final product.